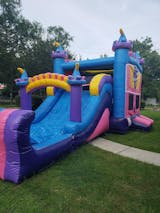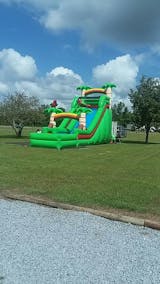
How to repair the commercial inflatables
Repairing inflatables typically involves a few simple steps:
Step 1: Identify the Damage
Thoroughly inspect the inflatable to locate any tears, punctures, or leaks. This may involve inflating the inflatable and using soapy water to check for air bubbles, which indicate leaks.
Step 2: Clean and Dry the Area
Clean the damaged area with mild soap and water to remove dirt or debris. Allow the area to dry completely before proceeding with the repair.
Step 3: Patch the Damage
Apply a patch specifically designed for inflatable repairs over the damaged area. Make sure the patch is slightly larger than the damaged area to ensure proper coverage. Press the patch firmly onto the surface, smoothing out any wrinkles or air bubbles.
Step 4: Apply Adhesive
If using a patch that requires adhesive, apply a thin, even layer of adhesive to both the patch and the inflatable surface. Allow the adhesive to become tacky before pressing the patch onto the surface.
Step 5: Allow Time to Cure/Allow the Adhesive to Dry
Once the patch is in place, you'll need to allow the adhesive to dry completely. This may take several hours, depending on the type of adhesive you are using. It's important to avoid using the inflatable until the adhesive is completely dry, as this could cause the patch to come loose. Wait at least 1 hour before inflating again.
Step 6: Test the Repair
Once the patch has cured, inflate the inflatable and check for any signs of leakage. If the repair holds, the inflatable is ready to be used again.
It's important to use repair materials specifically designed for inflatables and follow the manufacturer's instructions carefully to ensure a successful repair. If the damage is extensive or beyond your ability to repair, consider seeking professional assistance.
It's important to use repair materials specifically designed for inflatables and follow the manufacturer's instructions carefully to ensure a successful repair. If the damage is extensive or beyond your ability to repair, consider seeking professional assistance.


